
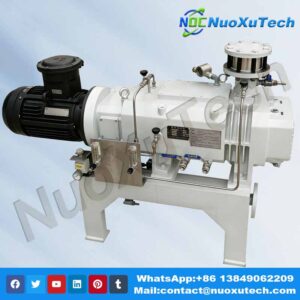

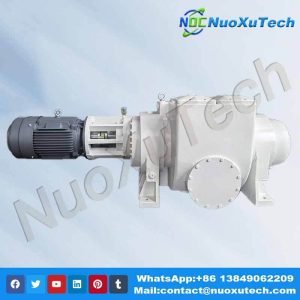
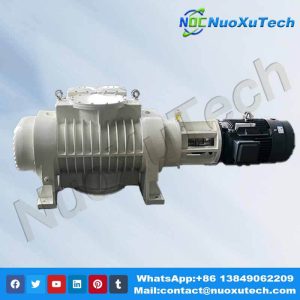
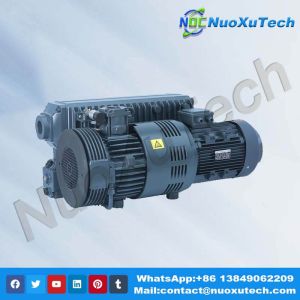

The 2XZ rotary vane vacuum pump is widely used in various industries due to its high efficiency and reliable performance. Proper maintenance and periodic inspection ensure its longevity. This guide outlines the essential steps for disassembling and assembling a 2XZ vacuum pump.

2XZ Rotary Vane Vacuum Pump Disassembly Steps:
- Oil Drainage:
- Begin by draining the oil.
- Removing the Inlet Nozzle:
- Loosen the flange screws on the inlet nozzle and remove the inlet nozzle.
- Unscrew the gas ballast valve flange screws and remove the gas ballast valve.
- Detaching the Oil Tank:
- Remove the oil tank.
- Removing the Check Valve:
- Remove the check valve cotter pin and take out the check valve impeller.
- Detaching the Pump Assembly:
- Unscrew the bolts connecting the support and the pump. Remove the pump assembly. The motor removal depends on convenience.
- Pump Cover Removal:
- Loosen the pump cover bolts, remove the cover, and pull out the second rotor and vanes. To remove the low-level rotor, first take out the cotter pin.
2XZ Rotary Vane Vacuum Pump Assembly Steps:
- Cleaning Components:
- Clean all parts with a brush and cleaning fluid to avoid clogging oil passages.
- Installing the Vanes:
- Insert the vanes into the rotor slot and install the upper rotor into the stator. Attach the pump cover, key, screws, and coupling, ensuring smooth rotation. Keep the stator top face down so that the rotor adheres to the stator’s arc surface. The gap should be 0.01mm.
- Lower Rotor Installation:
- Repeat the same process for the lower rotor.
- Check Valve Installation:
- Install the check valve parts and align the valve head flat with the inlet oil nozzle. Adjust the valve opening to 0.8-1.2mm. The valve head should close automatically when the rotor stops.
- Final Assembly:
- Attach the exhaust valve, oil baffle, and other components.
- Mounting on the Support:
- Install the pump, key, coupling, and motor onto the support.
- Reinstalling the Oil Tank:
- Reattach the oil tank.
- Securing the Inlet Nozzle and Gas Ballast Valve:
- Insert the inlet nozzle and gas ballast valve, then secure them with flange screws.
Important Notes:
- Always apply clean vacuum pump oil on friction surfaces during assembly.
- Retain the original positions of the parts to reduce the running-in period.
- Ensure all fasteners are securely tightened.

Contact us
For more information about 2XZ Rotary Vane Vacuum Pump: Disassembly and Assembly Guide, contact Nuoxutech at contact@nuoxutech.com or visit our Blogger nuoxutech.blogspot.com, You can also reach us on WhatsApp at +86 13849062209, Our team is ready to provide you with professional service and support.
Keywords
2XZ Rotary Vane Vacuum Pump, Rotary Vane Vacuum Pump Disassembly Guide, Rotary Vane Pump Assembly Instructions, nuoxutech, Rotary vane vacuum pump, Technical guide to rotary vane vacuum pump internal parts and servicing, vacuum pump maintenance,2xz-c, troubleshooting, How to properly assemble and reassemble a rotary vane vacuum pump,2xz-c pump,ultimate pressure, pump overheating,2XZ assembly, 2XZ Pump Repair, Vacuum Pump Assembly Guide.